I’m at the point in my stay where people begin to ask the question “How much longer are you here?” and they phrase the future in sentences like “Are you going to get a new bike for your remaining time here?”
It’s a strange feeling, to know I am fully here right now, but someday within the year I will be leaving Santa Cruz for a long while. Oh please, can we not talk about this anymore?
Happy things…the garden!
I’ve had these three beds hanging out in my garden, one full of dirt and sprouts, and two just waiting for something to be done with them. Today I finally crossed one bed off my list. I mixed together dirt and filled the box six inches high with it. The next succession of lettuce, spinach, and kale crops may now start their journey!
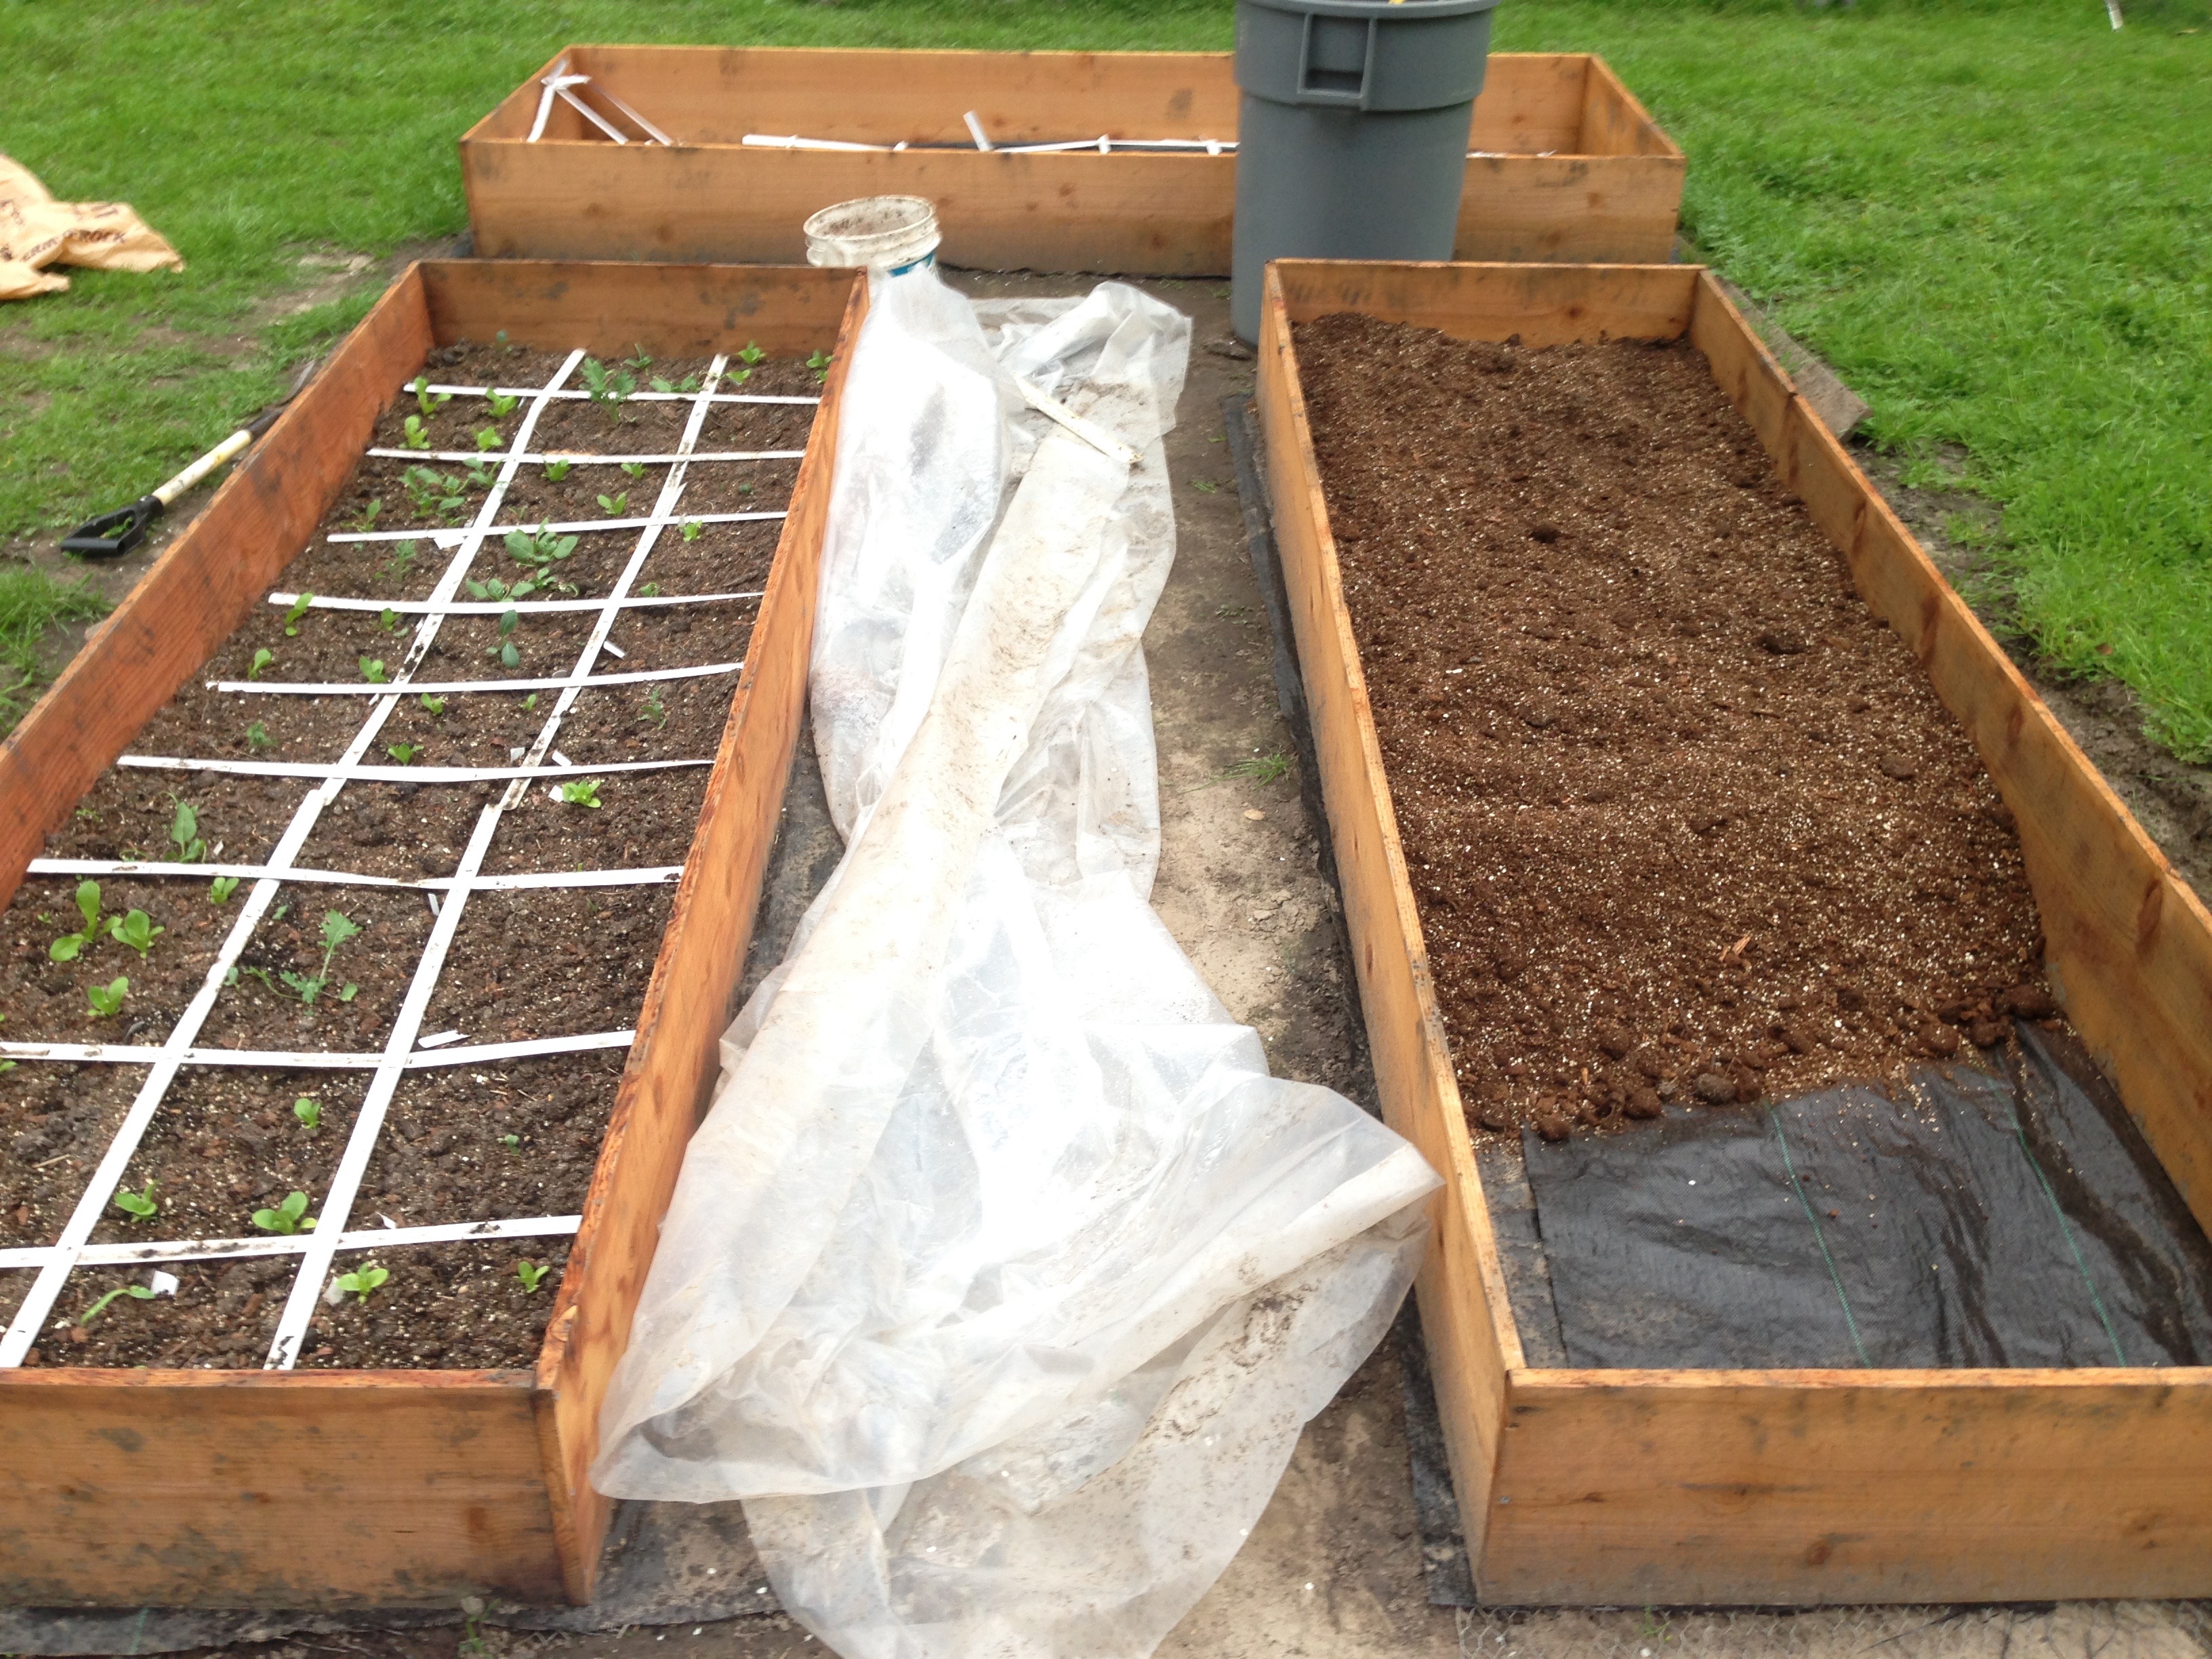
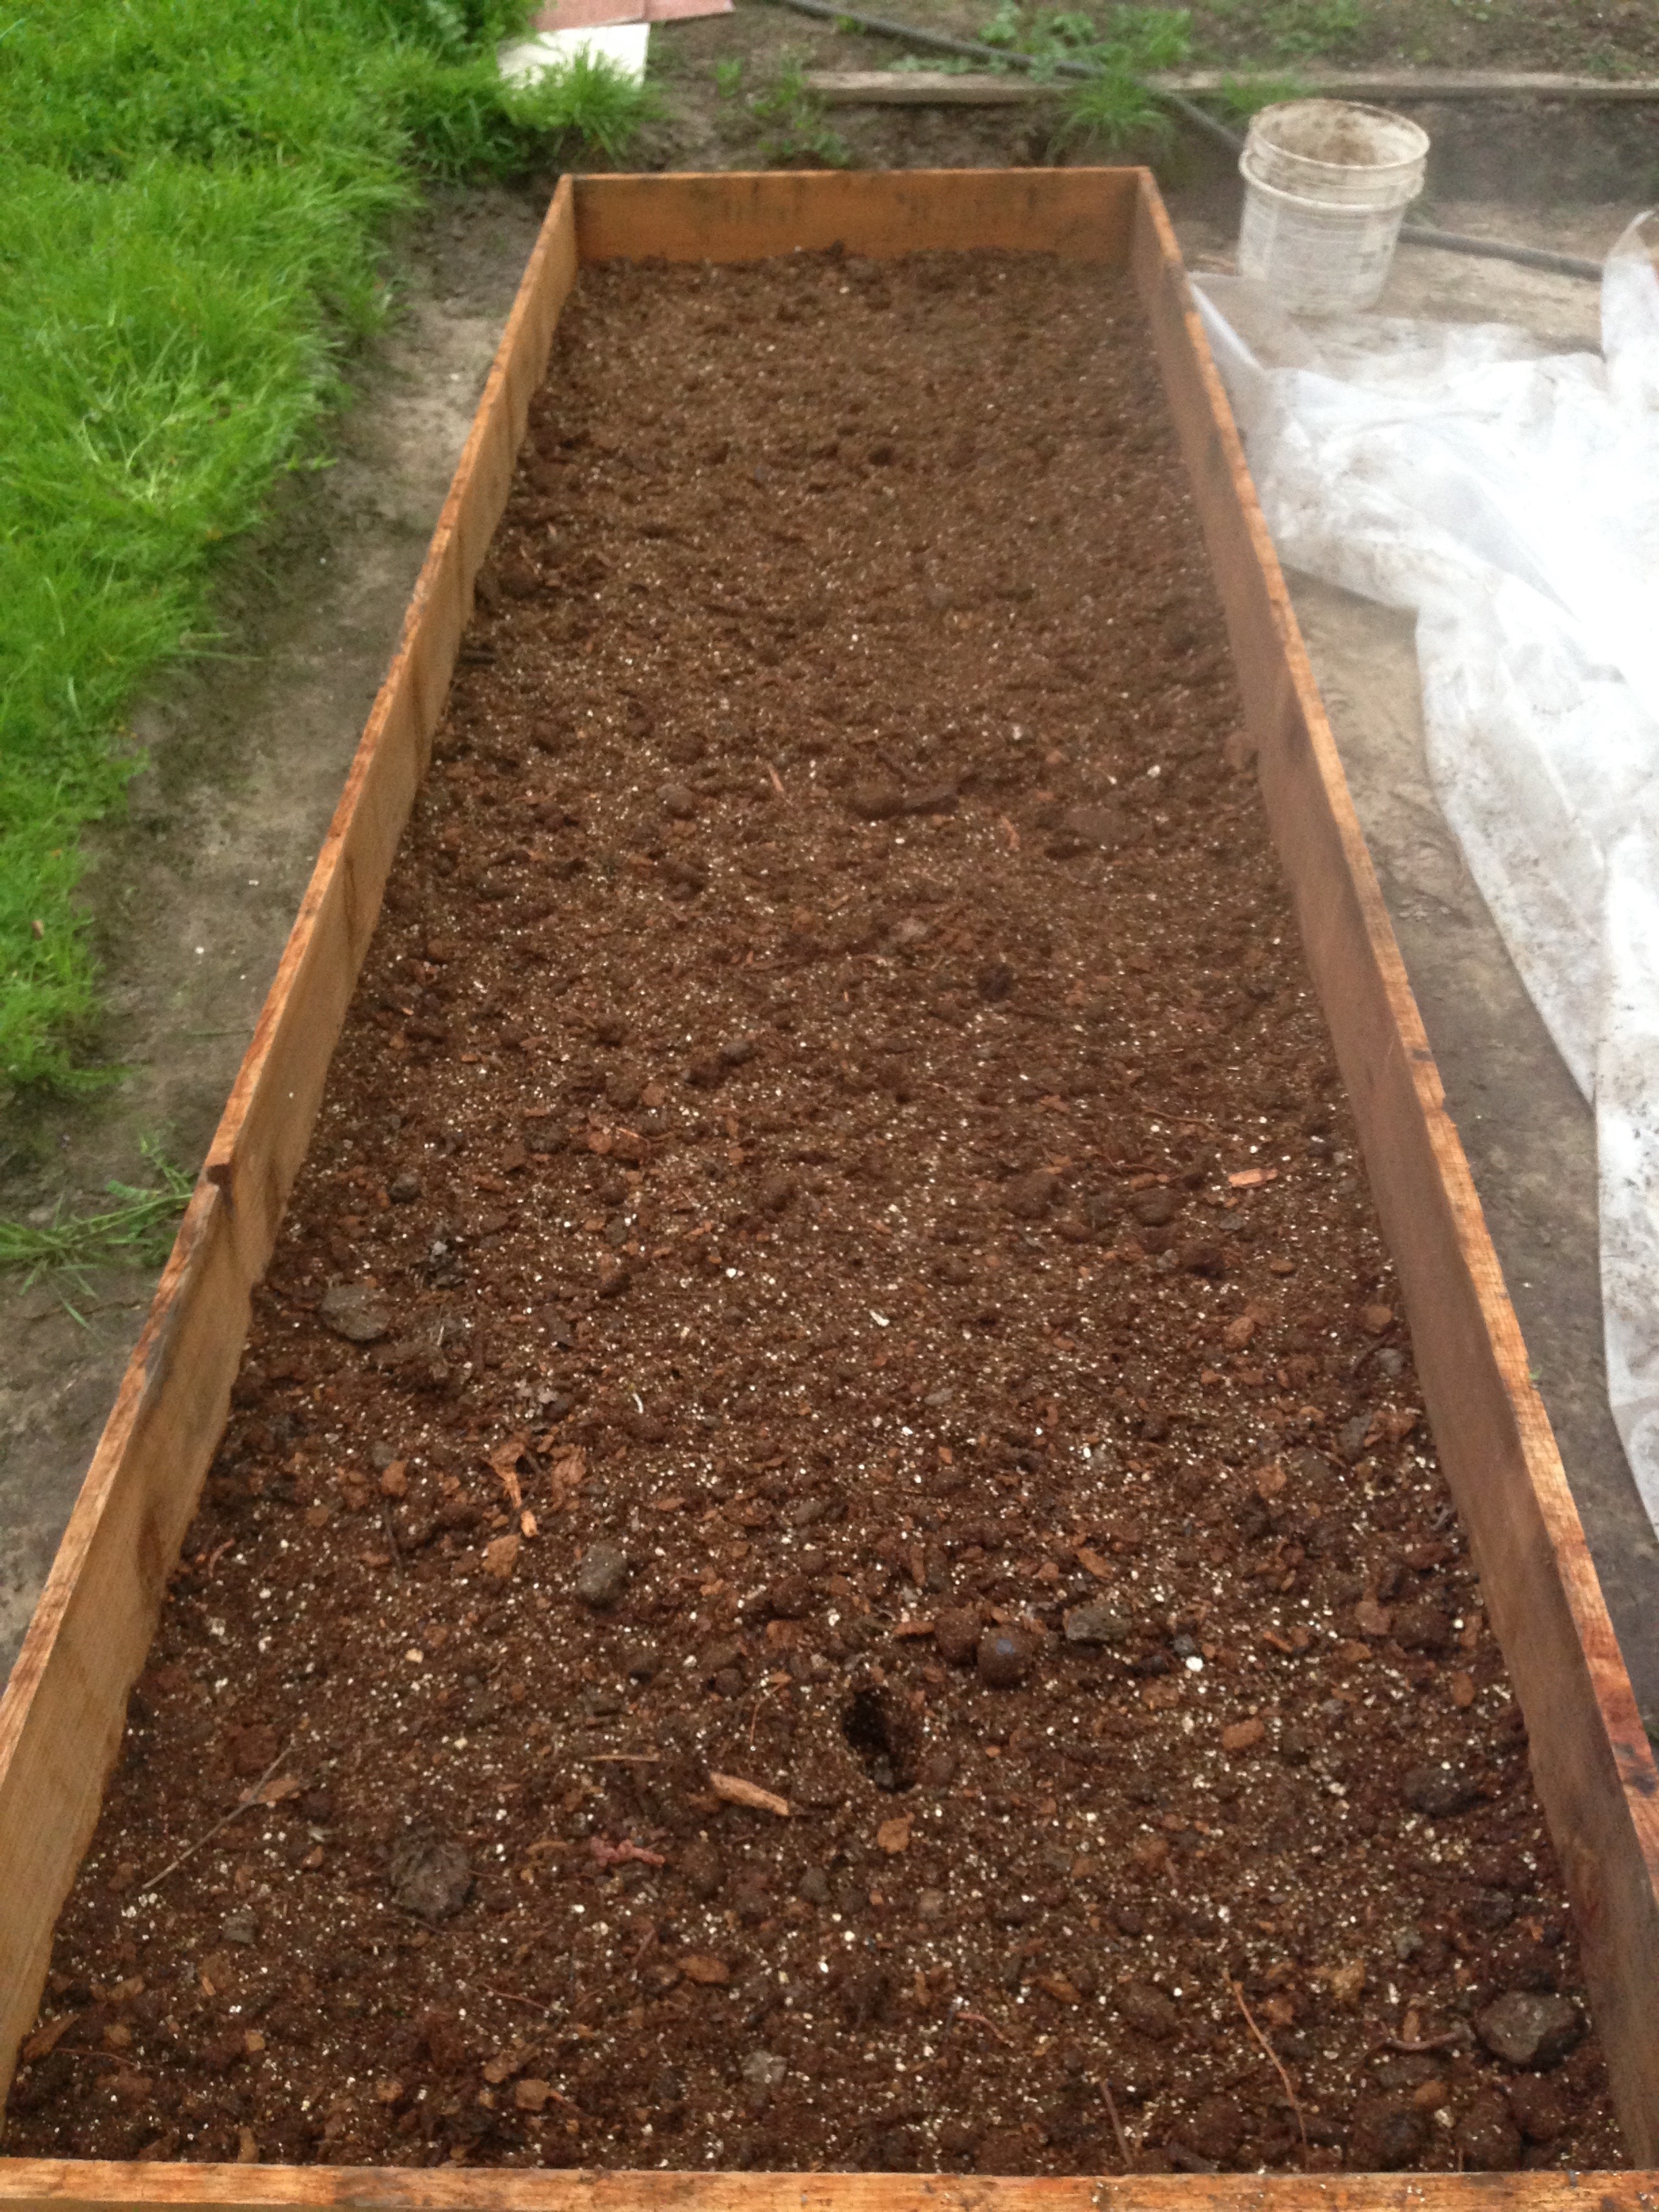
With this planting schedule I will harvest each bed at different times, interspersing their maturity times. Then I will add in the third, larger bed when I have the energy to mix all that dirt again… Thank goodness it’s a one-time thing per bed! And I’m just saying, if you feel like joining me for an hour it would get completed much quicker!
Tim and Tess keep urging me to draw up a master plan for the garden, and I’ve had a go at it a few times, and each rendition of the master plan comes out differently. I’ve played with colored pencils and large pieces of paper, and computer programs. Geez, you really have to understand your seasons, your space, and vegetables to come up with a good plan.
With our busy season coming up, I have to reevaluate our composting method. We currently have five pits in our corral, each at different stages of development. In order to start a new pile, one must be finished and cleared. Number one, maintaining five piles is a lot for one person. Number two, when we have six-plus buckets of food waste coming to the garden per week, we have to move organic matter around much quicker. While this method has been pretty sustainable during the slow winter season, it doesn’t bode well for my available time this summer.
Because of all this, and the unlikelihood that someone new would appreciate this type of arduous labor for compost each week, I am investigating larger scale composting. It seems to me I can just make a bigger pile and turn it less often. And, with a bigger pile, we can play around with compost-heated showers!! Heated Compost Showers!
While cleaning up our herb garden space in the back of the lodge I found a few Radish volunteers growing in peculiar places. Can you say determined radish? They still tasted yummy!

I have added basil to my in-room greenhouse, and I now have some cilantro growing in the herb garden. The cooks will love having these to use fresh!
While sitting here writing, I started thinking about my unsprouted pepper plants… all sixteen of them. Then I thought of the cherry tomato seeds I should have planted two weeks ago. So I’ve just planted sixteen cherry tomato seeds in those welcoming pouches. Productivity at its finest!
I would like to add some lemon and avocado trees to the property, seeing as we use so many, especially avocados on burrito day! Naturally I thought it would be neat to grow an avocado tree from seed, so I looked in to it.
As it turns out, my dear friend Donald is right, that growing avocado trees from seed is rarely fruitful. A tree grown from seed may not produce fruit, or it will produce much less fruit at a lower quality than it’s parent tree. Good trees are grown from graftings of other successful trees. So ultimately one could end up with a large, shady tree that never bears any fruit, and is expensive to remove.
However, the process of growing an avocado tree is fun, and you could always keep it as a house plant, which I find just adorable. Caring for and watching an avocado pit grow lets you see the whole journey of a seed sprouting into a tree, except at a much slower rate than say a lettuce seed. So I’m going to do it, and you can too.
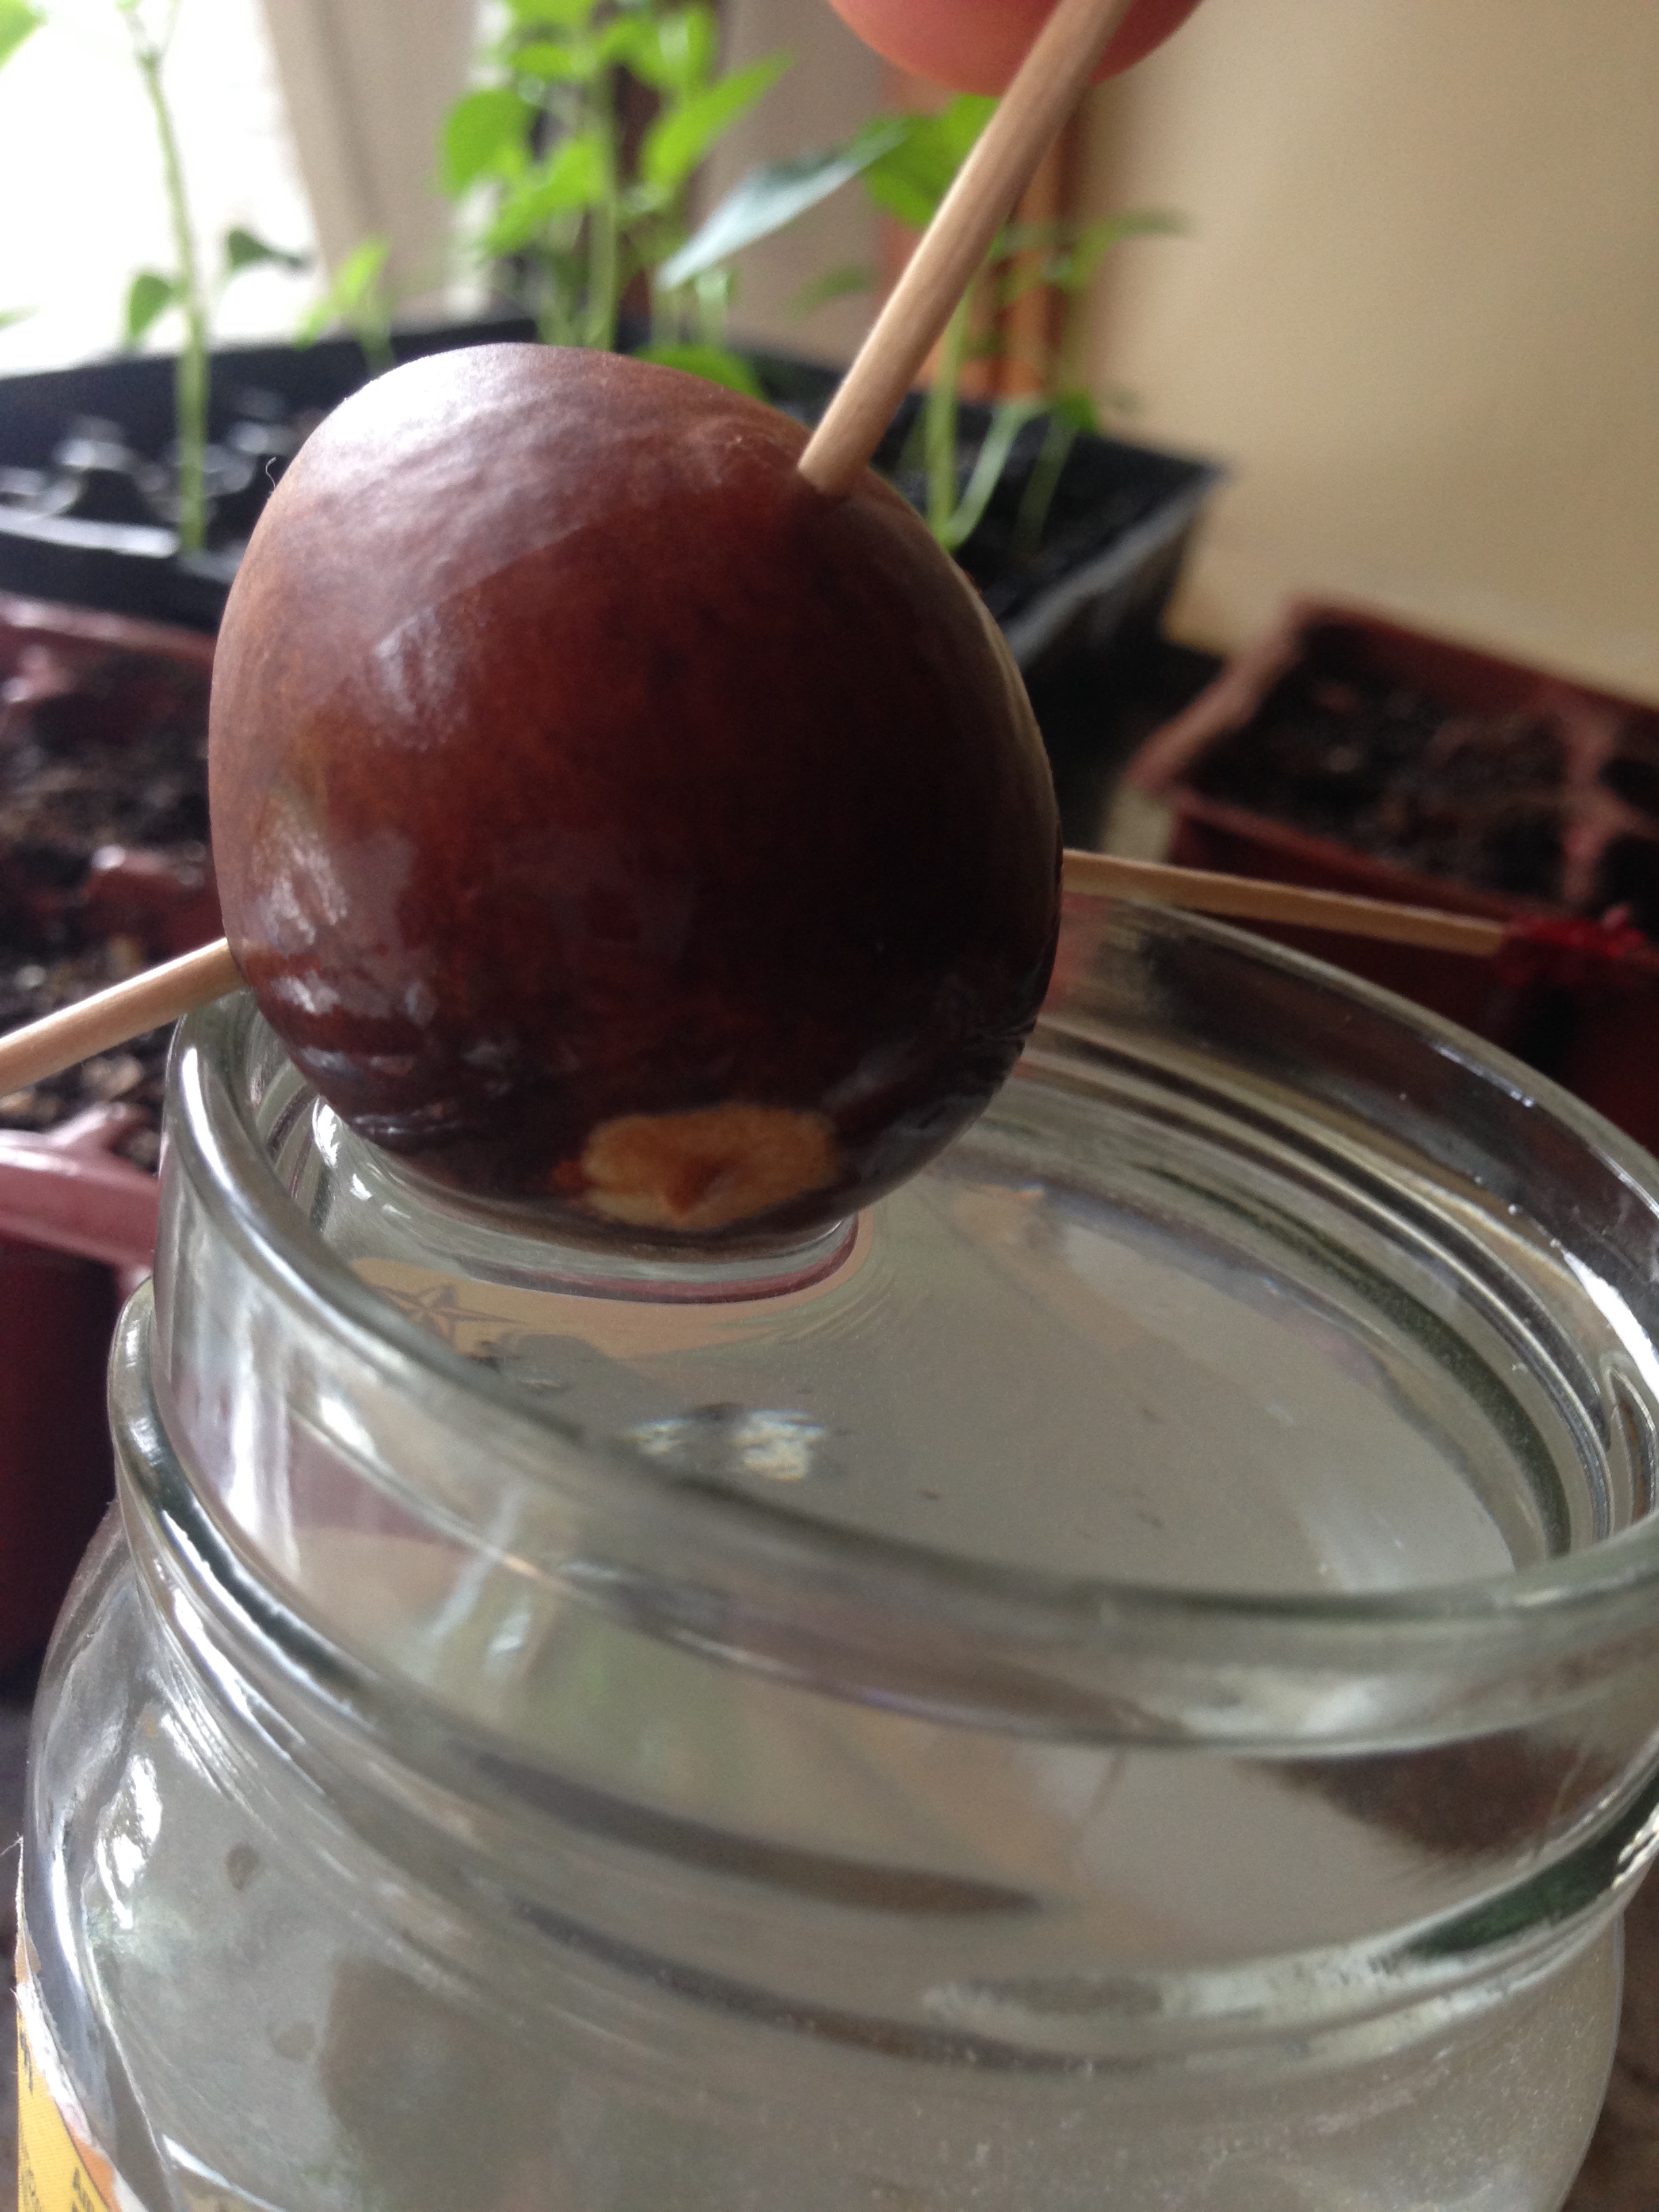
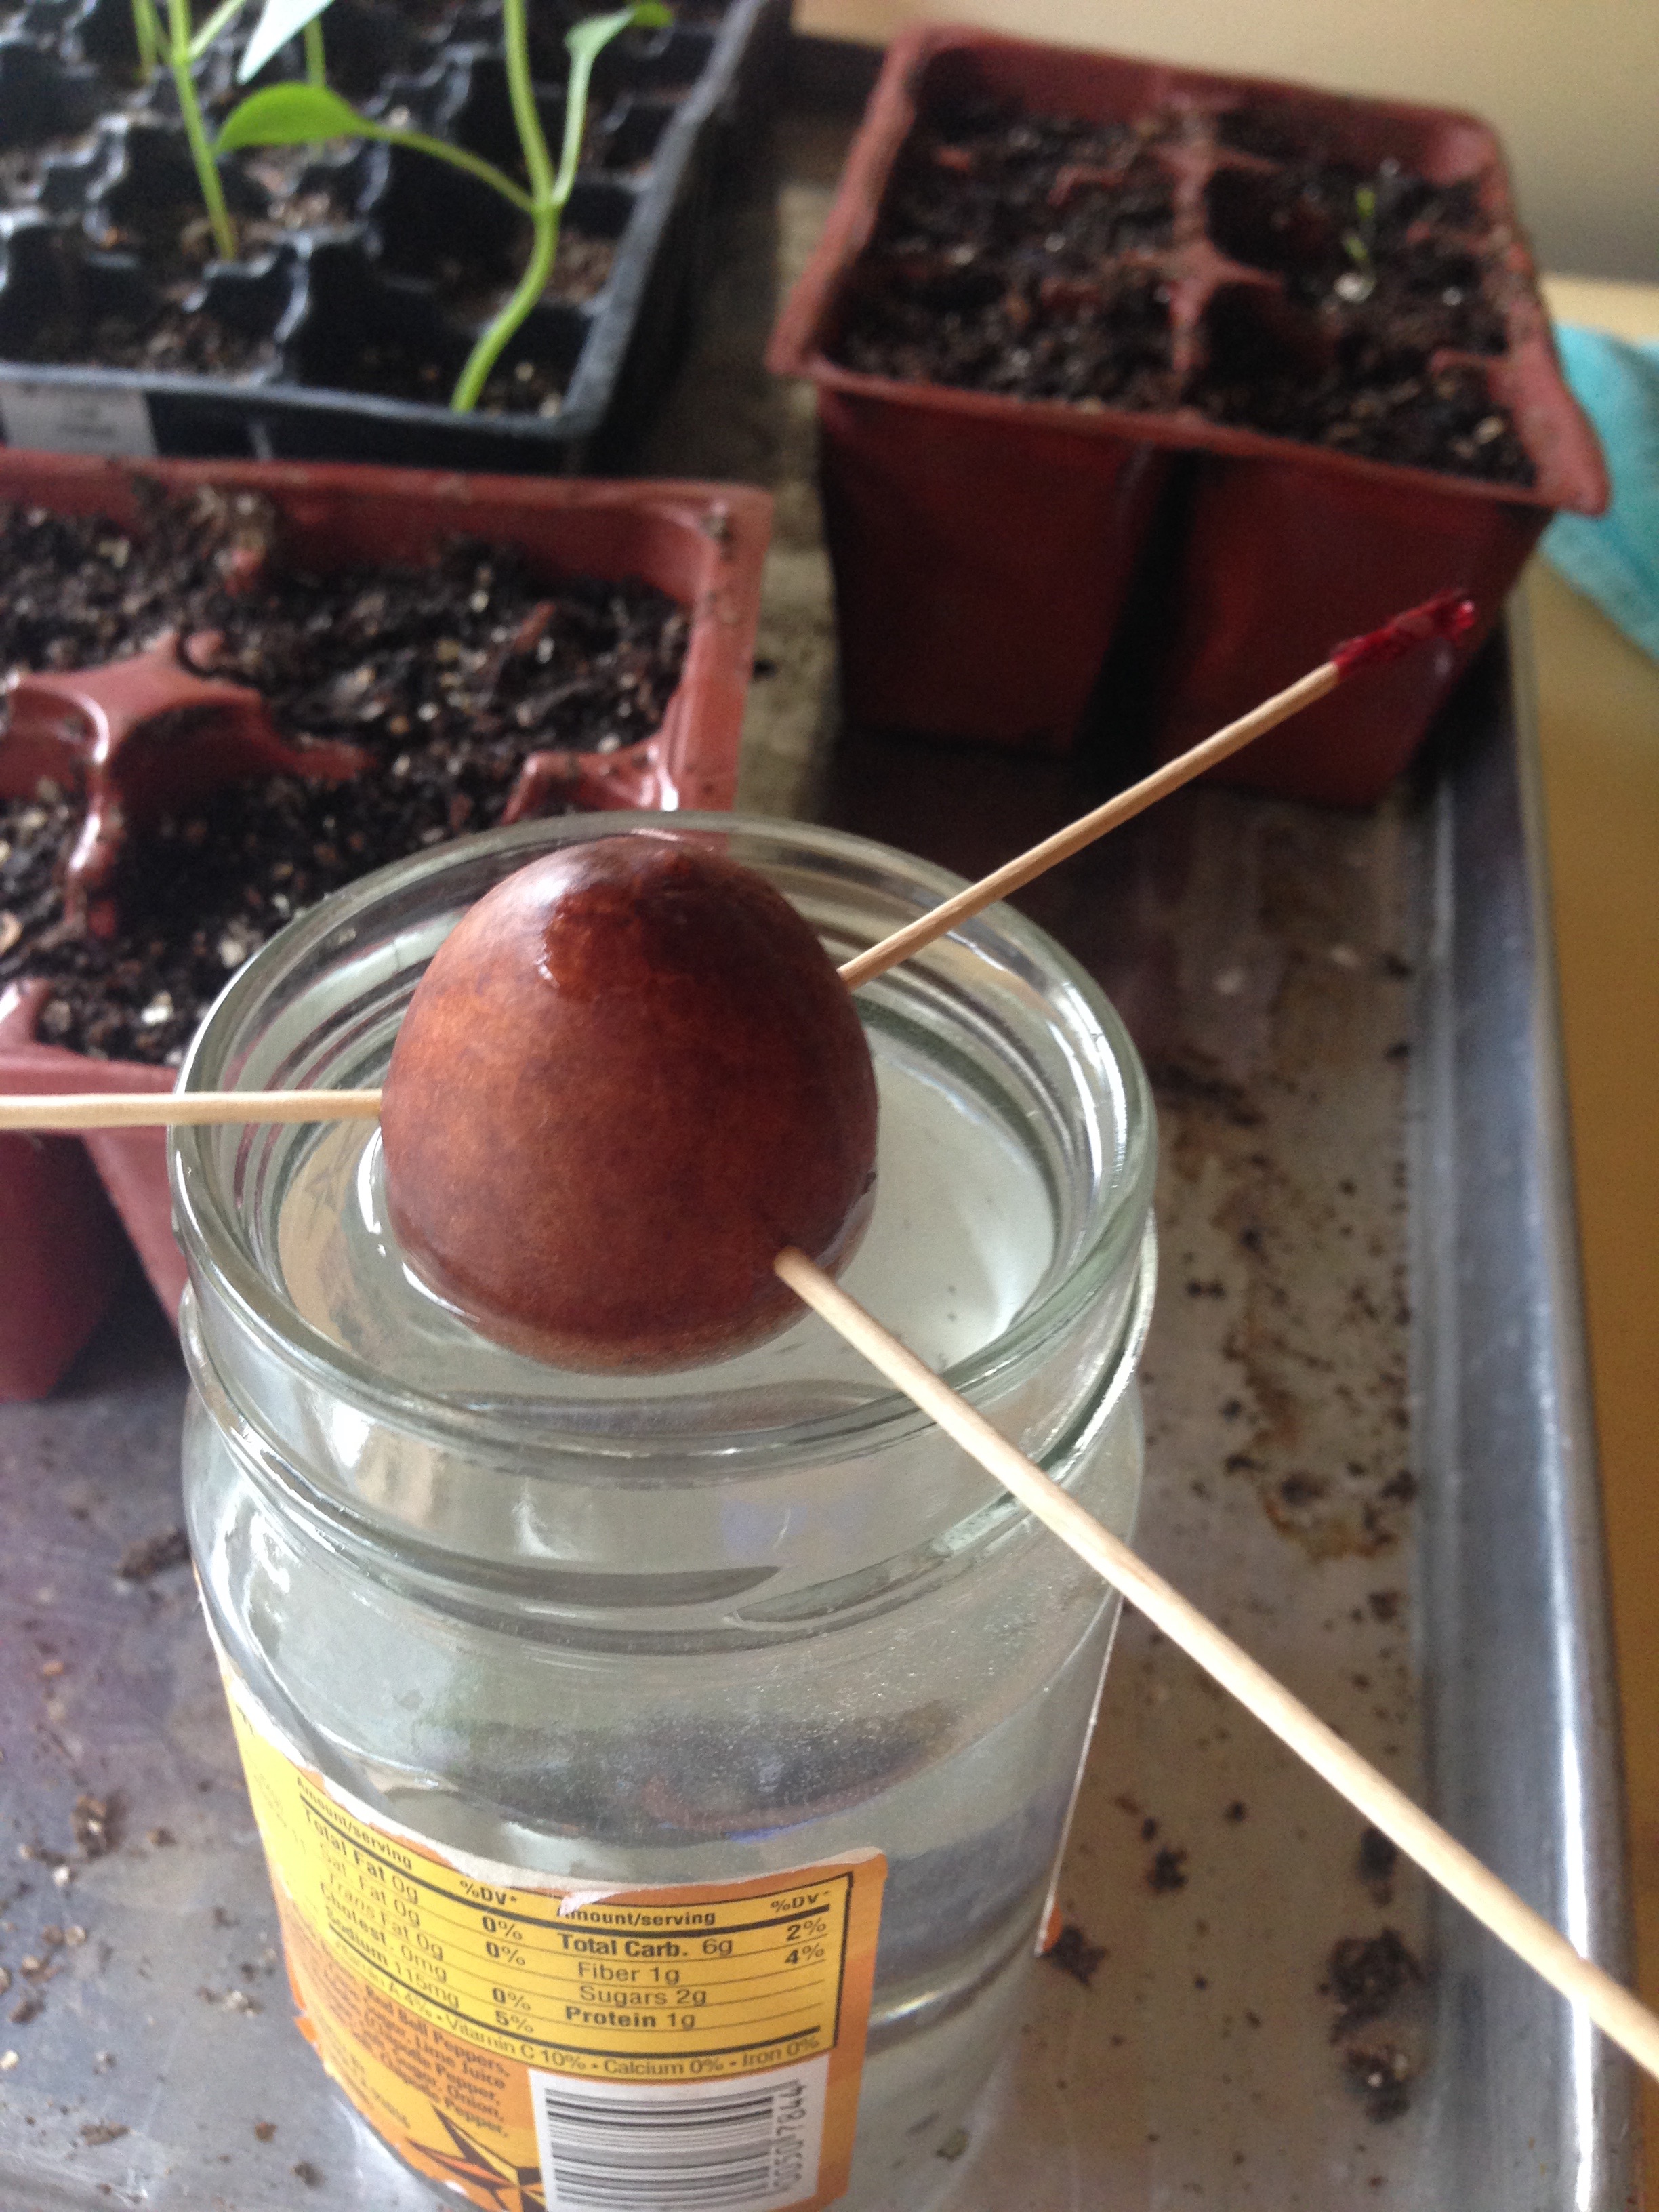
First determine the bottom and top of the pit. The discolored side is the bottom, and will sprout roots. The other end will sprout the tree.
Stick toothpicks evenly spaced around the pit. It’s easier than I thought it would be; its a pretty soft seed shell. Fill a glass with water and rest the bottom half of the pit in the water, supported on the rim of the glass with the toothpicks. The top of the pit should remain dry, and the bottom submerged. Every five days to a week you should change the water to prevent fungi and bacteria growing in the water and damaging the seed and root. I’ve placed mine in the window light as suggested.
Like I said, this is a slow process. The first sprout could take up to 8 weeks! I’m in for the long haul, so I’ll let you know when things start to really happen. If you do this, take pictures and post in the comments below! This is fun, I can’t wait to have an avocado house plant 🙂
For more info on sprouting avocados from pits, here’s the website I referred to: Avocado Seed Sprouting
Maybe by next week I’ll have started a lemon tree from seed. Until then, I’m investigating placement of a grafted avocado tree! See you next week!